What is Creative Photography?
What is Creative Photography?
Creative Photography is about discovering new shapes, colors, dynamic range, distortions and maybe even a combination of all of them.
Creative photography can stimulate you to create impressive imagery. It will help take you to the next level.
It is important to remember that even the most expensive kit in the world won’t get you very far if your photography lacks creativity and flair.
The only limit to this kind of photography is your imagination!
Explore and understand the principles and push all the boundaries. Only then you can break all the rules.
Creative Photography Tips:
- Shoot from your boots!
Put your camera on the ground and take images of your subject from a low angle. This introduces a completely new and often a random point of view.
You (and the people who view your images) will see the world from a new perspective, add an interesting foreground to your shots to add depth to the image.
- Get up high!
Use an extended monopod, a drones or kites. This will allow you to shoot from extreme angles. The best way to do this is to use remote triggers, very long shutter release cable or timers.
This technique is called Aerial Photography and with the combination of a wide lens (try it with a fisheye lens), it can produce extreme effects.
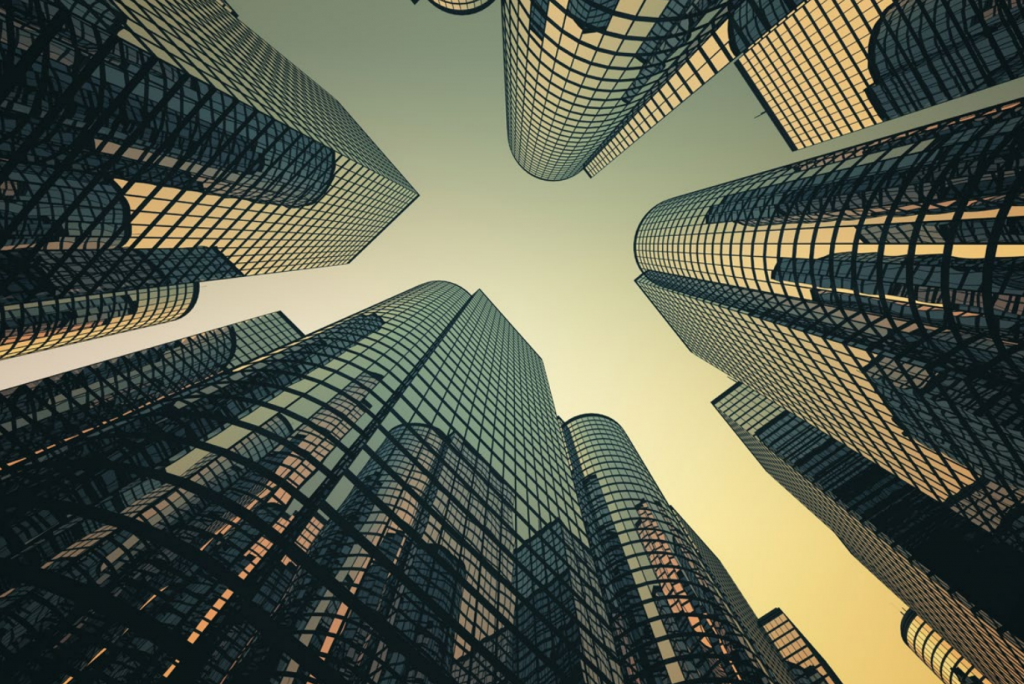
- Point the lens up!
This technique works great if you use it next to vertical lines like tall buildings, trees, standing people etc.
Like the previous effect of aerial photography, if you use a wide lens, the distortion caused by the focal length can generate an interesting effect!
- Kneel down
Everyone takes pictures from head height. Make your photos stand out from the crowd by crouching down and shooting low.
You will see the world from our pets point of view!
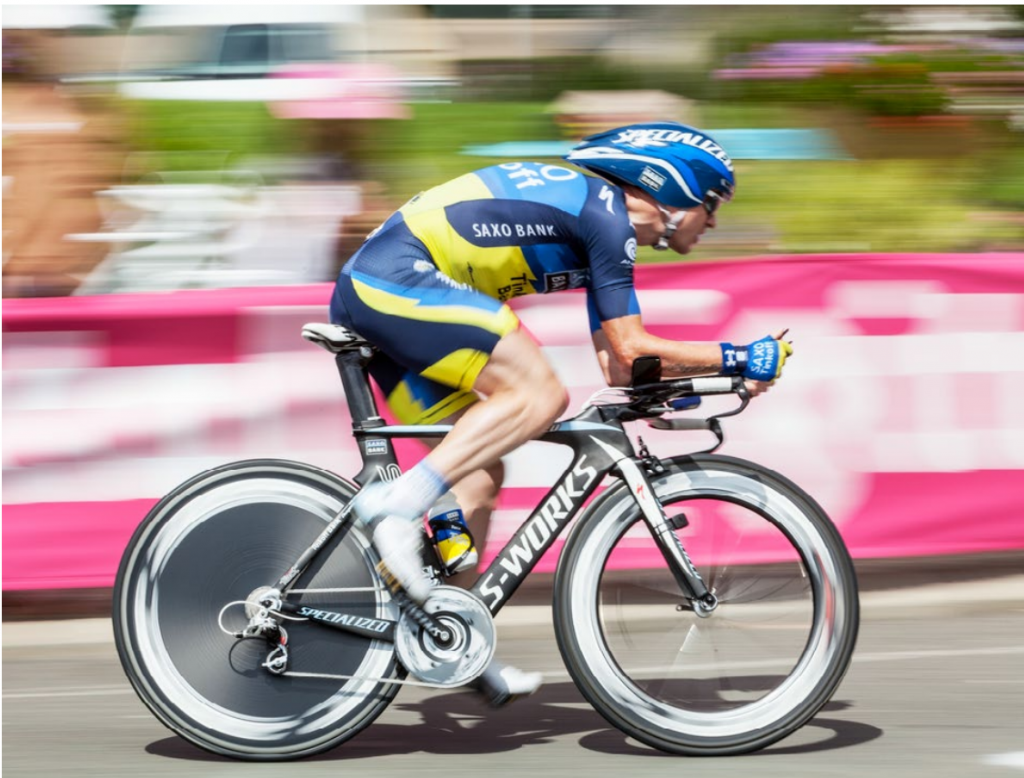
- Panning
When photographing a moving subject, a panning technique can be used to keep the subject in the same position
of the frame and freeze motion whilst allowing the background to blur due to the motion of the camera.
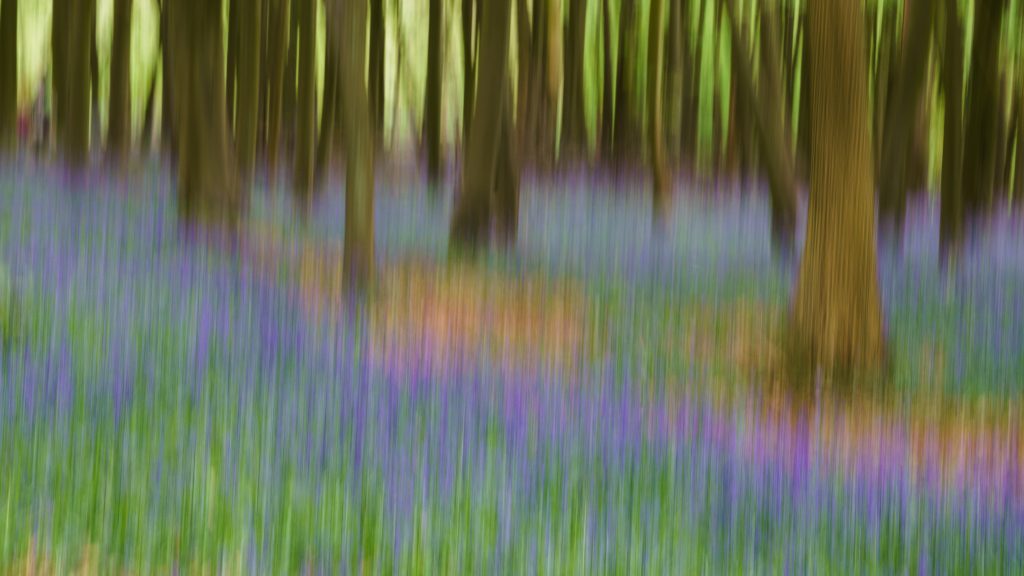
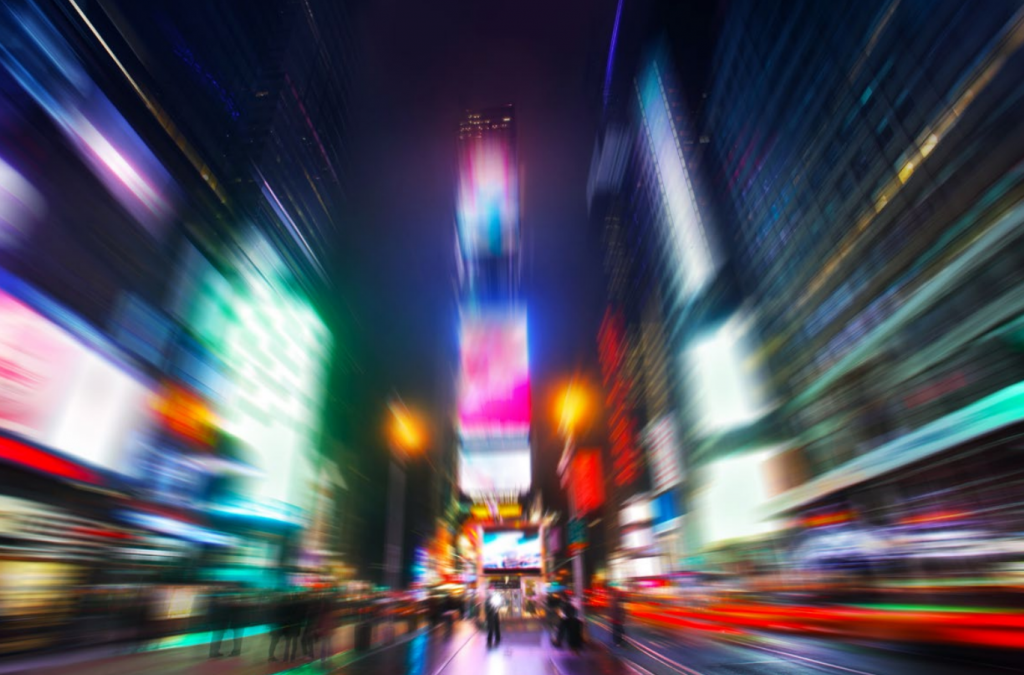
- Zooming, twisting
- Creative focusing
How many times have you heard the sentence “it’s out of focus”? Well.. what about going out of focus intentionally ? Use the widest aperture your lens allows you, switch to manual focus and play!
It works great if the scenario in front of you is full of bright colors and, meanwhile you are practising this technique, you can play with shallow depth of field!

- Bokeh
Bokeh occurs for parts of the scene that lie outside the depth of field.
Photographers sometimes deliberately use a shallow focus technique to create images with prominent out-of-focus regions.
Adjectives that describe bokeh include: smooth, incredible, superb, good, beautiful, sweet, silky, and excellent… but what exactly is it?
Bokeh is defined as “the effect of a soft out-of-focus background that you get when shooting a subject, using a fast
lens, at the widest aperture, such as f/2.8 or wider.” To achieve bokeh in an image, you need to use a fast lens. You’ll want to use a lens with at least an aperture of f/2.8, with faster apertures of f/2, f/1.8 or f/1.4 being ideal and shooting in manual exposure mode is recommended.
The more shallow the depth-of-field, or further the background is from you the photographer, the more out-of-focus it will be. Highlights hitting the background will show more visible bokeh too, so suggestions would be to have a backlight, side light or a hair light, the bokeh may be more pleasing.
Use this technique to separate your subject from the background can also allow you to utilize a not-so-photogenic background in your image—but because of its diffused blur, it helps to “highlight” the subject, not detract from it.
- Overexpose your photos
Experiment with different exposure levels.
Bump up your exposure compensation to the max and you’ll end up with brightly burnt out images.
This can be particularly effective if you’re photographing brightly colorful objects as you can end up with them on a background of bright burnt out parts of the scene.
- Multiple Exposure
If your camera supports this feature, you can achieve some fun results.
One of the methods to use this technique is to take several photos of the same subject using different focal length or changing slightly the camera angle in between the shoots.

- Panorama
For successful panoramic photography you really need a tripod. You can shoot hand-held in an emergency, but it’s hard to avoid variation in the heights of the frames in the sequence, which means you’ll have to crop off too much of the picture’s top and bottom edges later on to even up the edges.
Set your camera in portrait position (vertical), RAW format and it’s vital that the settings don’t change between shots, so set the camera to Manual (M) and choose an exposure that will suit the whole scene. You don’t want the White Balance to change, so choose a manual preset, such as Direct Sunlight. Finally, focus on your subject and slide the focus switch on the lens to ‘M’ to lock the focus.
Try to overlap each single photo by 1⁄3 or 1⁄4 , this will help to merge them later. There is no limit to the number of photos you need to create a panoramic image but you should try to avoid as much as possible movements in between the photos, like clouds, cars, people, etc.
A good starting point is to shoot approximately 15/20 images.
Once you have all the photos, you just need to start Photoshop, click on File →
Automate → Photomerge.
If you have Photoshop 5 / 6 CS or CC, you can choose the option Auto. If you have a previous version, select Cylindrical.
Finally click on Browse, select your files (all of them) and then click on Ok. Now you just need to wait and let Photoshop do the work for you.
If you have Photoshop elements, you will find this function under the Enhance menu and select the Photomerge Panorama option.
- Vertorama
A vertorama is a panoramic photo shot in vertical instead of horizontal.
It works in the same way as a Panoramic but now the camera is set in the landscape mode (horizontal) and
you have to move it only vertical, using the same settings (M mode, WB sunlight, RAW)
- Light Graffiti and Paint with Light
Light Painting Photography is the Art Form of using handheld lights as brushes to paint and/or draw in a scene while the shutter of a camera is left open during a long exposure photograph. By shooting in a dark location and using photographic technique of long exposure photography (ie a 30 second exposure) the flashes, streaks, colors, textures, and trails of light created by our light painting brushes can be captured in your photograph without the use of any post production.
Exposure times for light painting can range from just a few seconds up to an hour or even more.
Our camera shutter speeds will be very long, it is important to use a good tripod, a low ISO setting (like 100) to avoid noise and closed aperture between F8 and F16.
As soon as you have configured the scene, take a couple of test shot to calculate the frame of your photo, then auto focus on your subject and switch to manual focus, using the button on your lens. or if you are in pitch black, you will need to use a torch or manually focus when there is still light.
This last step is very important, because as soon as we will switch off the lights in the room, it will be impossible to focus on our subject on auto-focus alone.
Switch off the lights and… ACTION!
Remember do not point the source of light directly towards the lens if you would like to avoid lens flare.
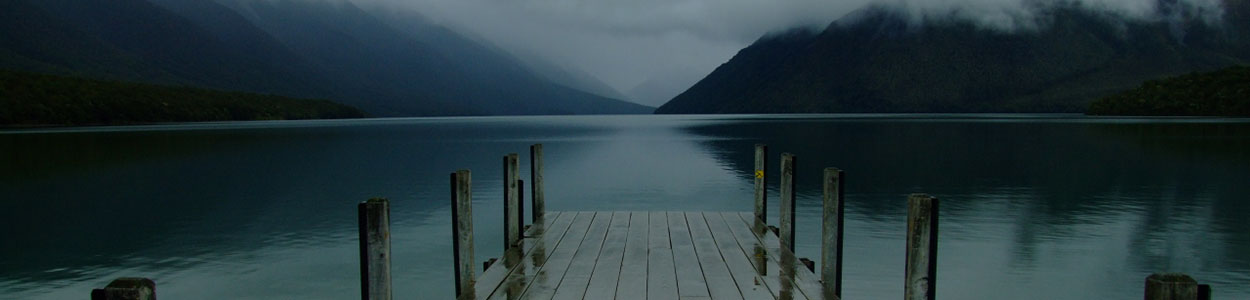
- Night Photography
Slow shutter speeds (seconds, multiples seconds, minutes and even hours) enable you to let lots of natural light fall on to the camera’s sensor. This means you can get really creative when taking photographs at dawn, dusk or at night.
You will need to use a tripod!
We hope you enjoyed these tips and look forward to hearing from you.
